Tuesday Tips & Techniques from Photo Pro Sascha Janson #21
On select Tuesdays, Cameras@Lembeh Resort – the first and only dedicated photo & video center in Lembeh Strait with full time on site photo pro – will feature Tips and Techniques by Photo Pro Sascha Janson. Sascha will offer up a range of information, you never know what piece of wisdom he will impart.
Sascha says: Adjust your White Balance !
Since we (hopefully) shoot in RAW, we have to adjust the white balance almost all the time. This can be done very easy in Lightroom.
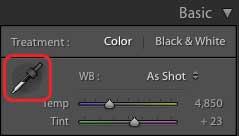
To do so, we just go to the Basic panel in the Develop Module. There we have a few different options:
1.) You can use the color picker and pick an area in the image which is neutral (not white)
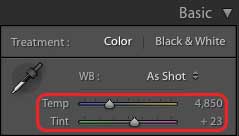
2.) Slide the Temp & Tint slider until you get the desired color
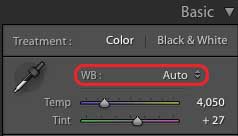
3.) You could use the Auto preset. Sometimes that one works as well.
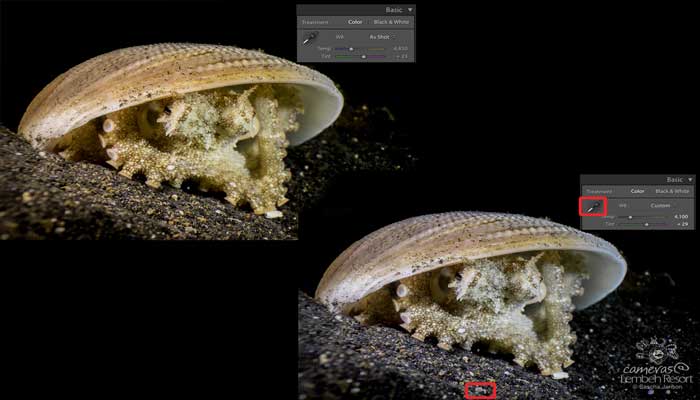
In the example below, I was shooting in RAW and when I opened it in Lightroom, the image looked like this:
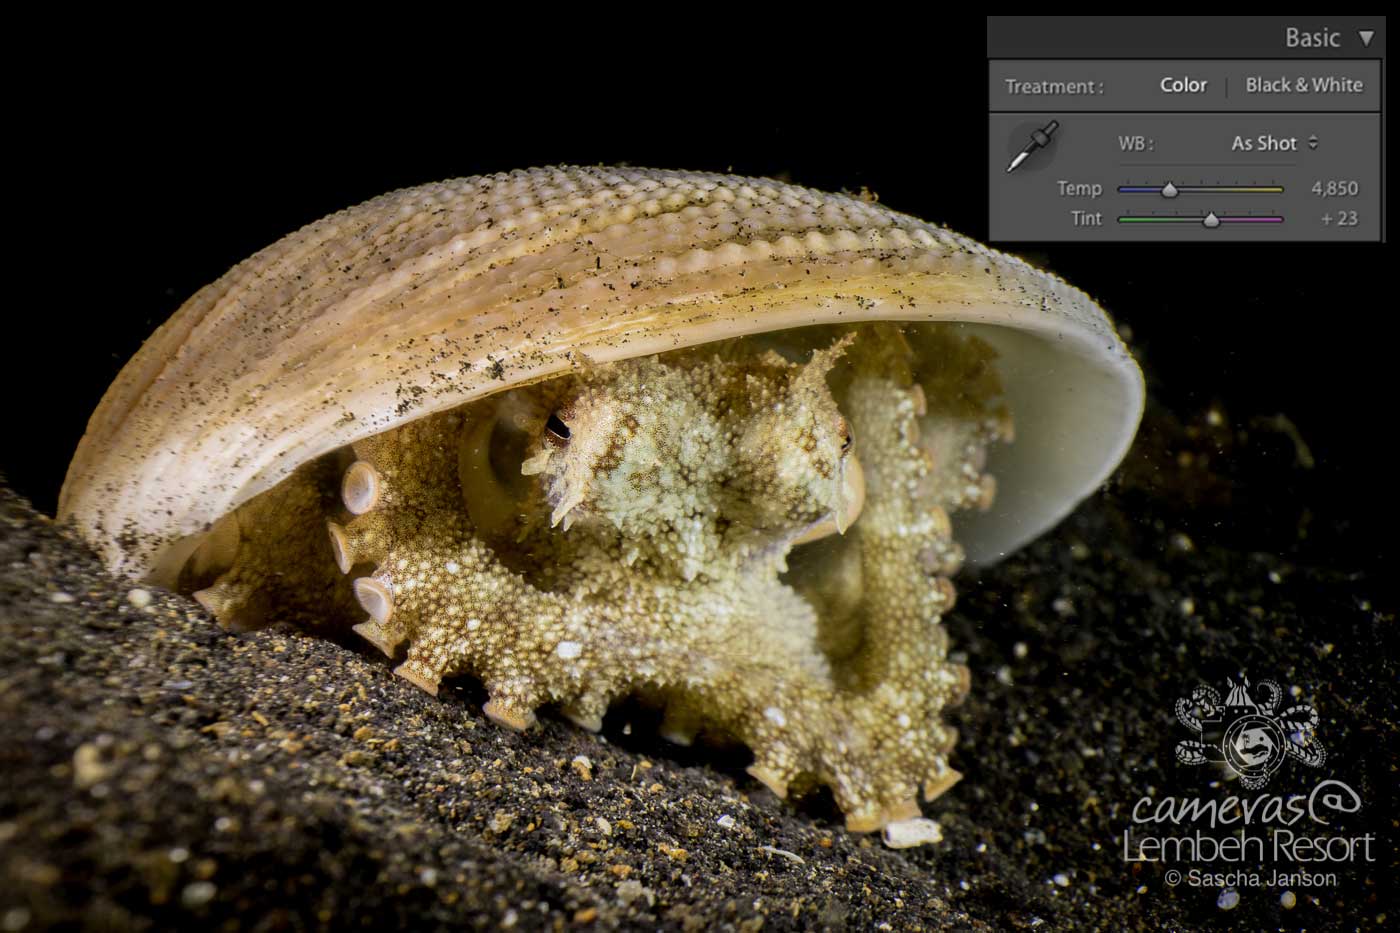
As you can see, the Coconut octopus (Amphioctopus marginatus) is a little too yellow and needs color correction.

Here I used the AUTO White Balance preset to get a better looking image.
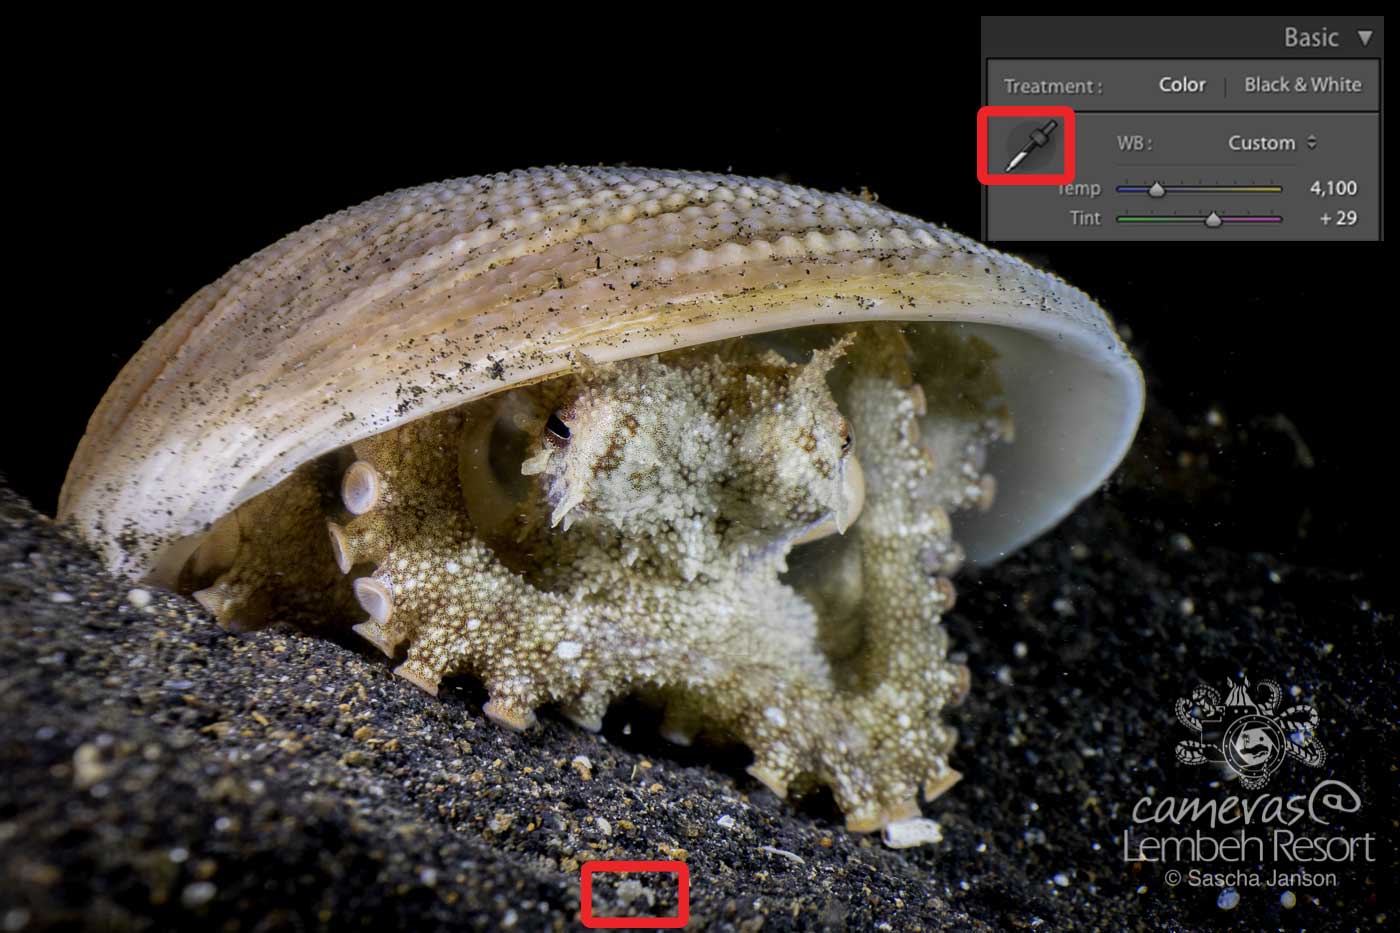
Here I used the color picker tool and picked a neutral grain of sand (see red square) to get a nice color. I had to pick a few different grains of sand until I got a pleasing color, it doesn’t always work the first time but is super easy and fun to do! Adjusting the White Balance in Photoshop (with the camera raw converter) works exactly the same.
Stay tuned for more Tuesday Tips & Techniques