Macro Underwater Photography Lighting Tips

Are you starting out in macro underwater photography or are you already an underwater photographer and want to advance your skill set and image quality? If so, lighting is an important factor. If this is not the most important factor, it will take your images from good to great!
In this article, we take a deeper dive into underwater lighting sources, techniques, effects, post-dive editing and macro underwater photography opportunities in the Lembeh Strait.
Getting Started: Basic Photography Skills
Neutral buoyancy will give you more time with each critter and you’ll avoid camera shake
Before looking at underwater lighting specifically, let’s recap some basic underwater photography skills that are necessary for your lighting techniques to have maximum effect.
Stay low and go slow! Most of the photography opportunities in Lembeh are of macro critters and you’ll want to get as close as possible to the critter for your macro mode, settings and lighting to work effectively. Always approach critters slowly so as not to spook them. We recommend taking incremental images to ensure that you get a shot before the critters move away.
Staying low down is much less threatening to marine life than if you approach from higher up. You should aim to be level with the critter for the best available shot. Make sure you are neutrally buoyant and aim to keep your fins as still as possible so you are not stirring up Lembeh’s silty bottoms and creating additional backscatter.
Avoid excessive repeat shots with strobes which may daze the critter or cause it to leave the area. Photo Pro Saeed Rashid recommends practicing the shot you intend to take on a non-living item, such as a stone, coral rubble, or other inanimate object prior to shooting the critter.
Read more: Mastering Buoyancy for Your Diving
Light Sources
When considering underwater photography lighting, photographers have a number of light sources available to them. Generally speaking, there are two main light sources, natural light from the sun and artificial light which the photographer (or their guide) introduces to the scene to counteract a lack of natural light at depth. Let’s take a closer look at light sources and a variety of options.
Utilizing Natural Light
Images taken using natural light can be absolutely stunning – especially on those magical days when you can incorporate the sunbeams penetrating through the surface of the water. Photo Pro Alex Mustard suggests using natural light in shallow water as the best images tend to be taken upwards of 5 meters where the light is strongest. If you have an underwater mode, use it – or if you have an option to manual white balance, set it at your chosen depth for best results.
Artificial Light Sources
Artificial light comes in several forms. You may choose to work with a single strobe light (similar to a camera flash but more powerful), or with double strobes which gives more flexibility. Another option is to shoot with video lights. Unlike a strobe that flashes when you press the shutter button, when video lights are turned on they emit constant light.
- Single Strobes
Advantages: Using a single strobe allows you to create images with shadow effects where only one side of the subject is illuminated.
A single strobe set up is also easier to handle and can access spaces on the reef that you may not be able to reach when shooting with a larger double strobe rig. Using a single strobe also has financial positives simply because it is cheaper to purchase one strobe than two!
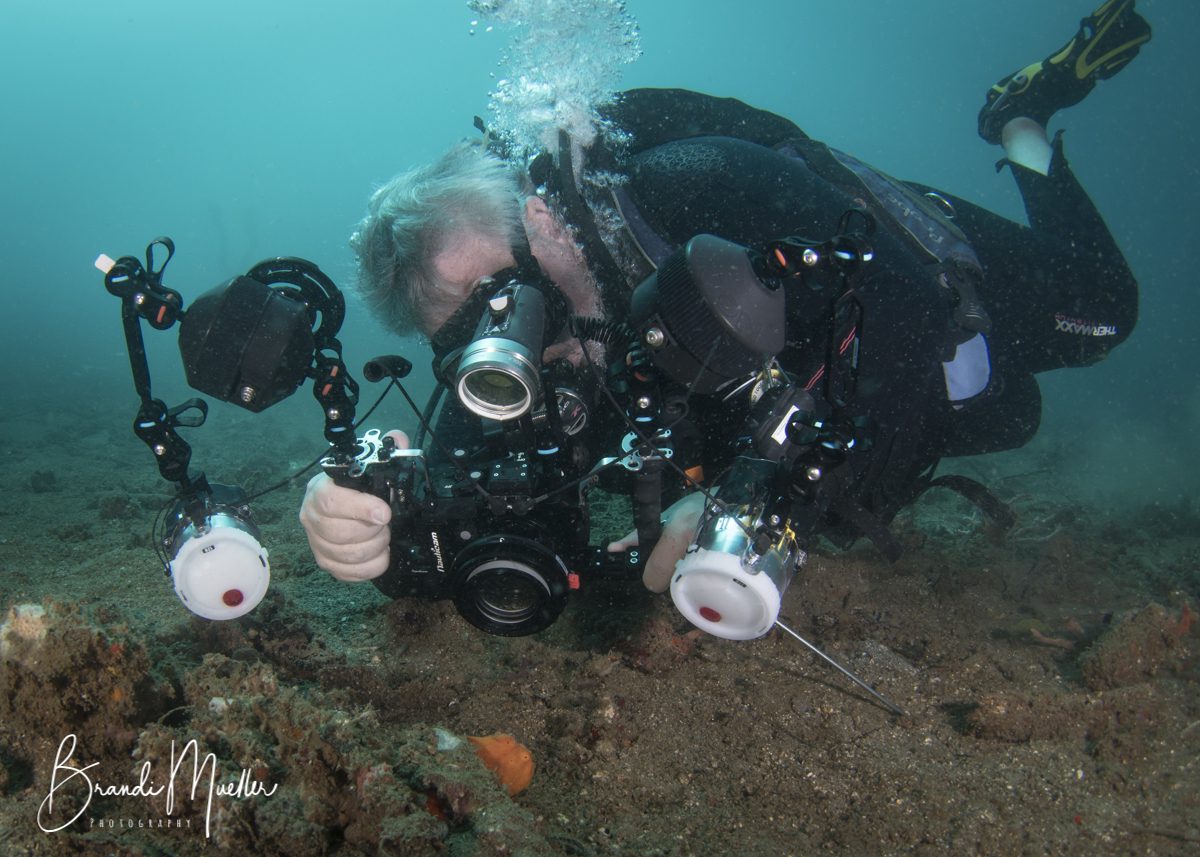
- Two Strobes
Advantages: Using two strobes (usually positioned on the left and right sides of the rig) allows you to fully illuminate a critter from both sides.
When shooting a critter head-on, double lights result in more of the critter being illuminated and in focus. You can still capture interesting shadow effects with double strobes by simply turning one off, or by repositioning both lights to the same side.
Although using two strobes means handling a larger rig and a larger financial expenditure, you have more options available to you when shooting.
- Video Lights
Advantages: Unlike strobes where the image is dark in the viewfinder until you shoot and the strobes fire, with video lights and their constant emission of light, you can see the illuminated image in the viewfinder prior to shooting.
Video lights can be switched on and off underwater so you do not drain the battery while swimming between shots. Video lights can also be handy as an alternative to carrying an underwater flashlight, allowing you to check inside crevices for critters to shoot!
Artistic Lighting for Advanced Options
Once you have mastered ‘classic lighting’, you may want to try out more artistic lighting effects that can add further dimension and depth to your images. Here are some of our favorites:
- Backlighting
Backlighting is exactly as the name suggests. Instead of illuminating the subject from the front, lights are placed behind the image aimed toward the camera lens. Backlighting enables you to capture beautiful silhouette images that capture the critter’s profile. One of our favorite critter backlit profiles is seahorses. And here in Lembeh, there are plenty of species to practice on.
In Lembeh we also commonly see photo pros using this technique when critters such as gobies are found in discarded bottles. Lights can be placed behind the bottle and the goby is backlit while perched inside the neck of the bottle!
- Snooting
Unlike shooting with strobes or video lights that produce wide beams of light, when shooting with a snoot, it will produce a very narrow beam that can be used to highlight or spotlight critters. This narrow, concentrated beam makes achieving that highly sought-after black background much easier, eliminates surrounding backscatter, and creates wonderful contrasts between the subject and the negative space around it.
The Photo Center at Lembeh Resort stocks the Backscatter OS-1 Optical Snoot and MF-1 Mini Flash combo – our preferred choice for shooting!
Check out the Backscatter Optical Snoot and Mini Flash on Backscatter.
- Colored Lights and Filters
If you want to take your images into a completely different sphere, then colored lights and filters could be what you are looking for. Using vibrant colored lights such as blue or violet light can result in an almost pop-art effect.
Using more subtle light colors can also enhance an image and create more of a mysterious effect. When using colored lights and filters, it’s important to note that this is not something that can be easily ‘undone’ in post-dive editing. So if you are going to try to experiment with color – go all in!
- Bokeh Effects
The bokeh effect is a common technique used in photography where one element of the image is intentionally blurred. Emphasis is placed on certain points of light in the background, with bokeh appearing as a backdrop to the focal area. Most Bokeh images have the critter (subject) in focus and the background is a blur of light spots. This would make the subject stand out even more.
Read more: Underwater Photography Equipment & Accessories
Underwater Photography Guides at Lembeh Resort
Lembeh Resort Dive Guides
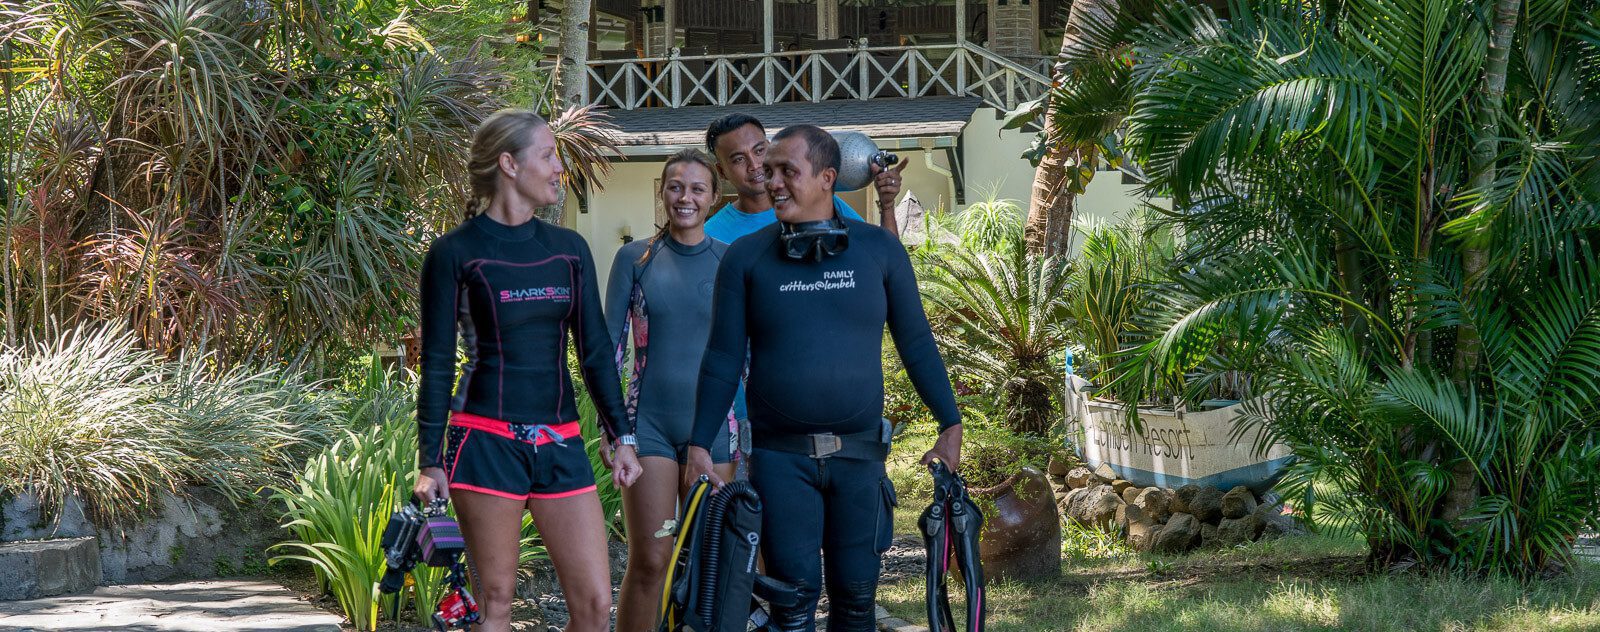
At Lembeh Resort we are proud to offer underwater photography guides. All of our guides are trained in underwater photography lighting and other photography and videography techniques. With a private photography guide, you will have someone on hand who understands your lighting needs. They will also assist you in positioning your lights, finding unique critters, and carrying additional lighting equipment. Last, but not least, they will ultimately lead you to the best possible photography opportunities. However, you decide to light your subject.
Post Camera Editing: Things to Consider
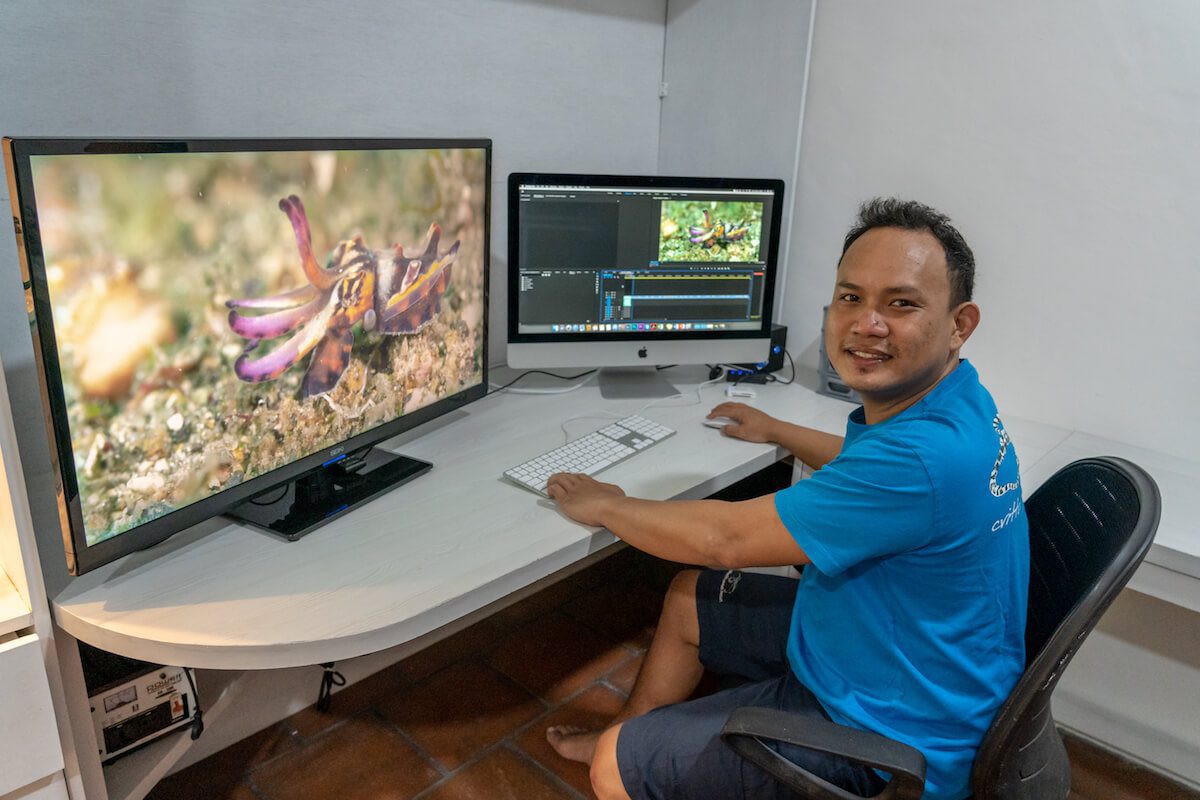
Fandy Sangi editing post-dive shots at Lembeh Resorts Photo Center
Photography editing software has never been more powerful than it is now. When editing, take into account that no amount of post-dive editing can replace a quality image that was shot with great lighting underwater at the time. It is also important not to over-edit and to keep the image looking ‘real’ rather than feeling ‘fake’ or computer/AI-generated.
Some of the biggest culprits when it comes to editing issues are over-increasing the contrast and overdoing the saturation. Always duplicate a photograph before editing and work on the duplicate. Keep referring back to the original so you can see how far away you have moved from your source image.
Underwater Photography Workshops with Lembeh Resort
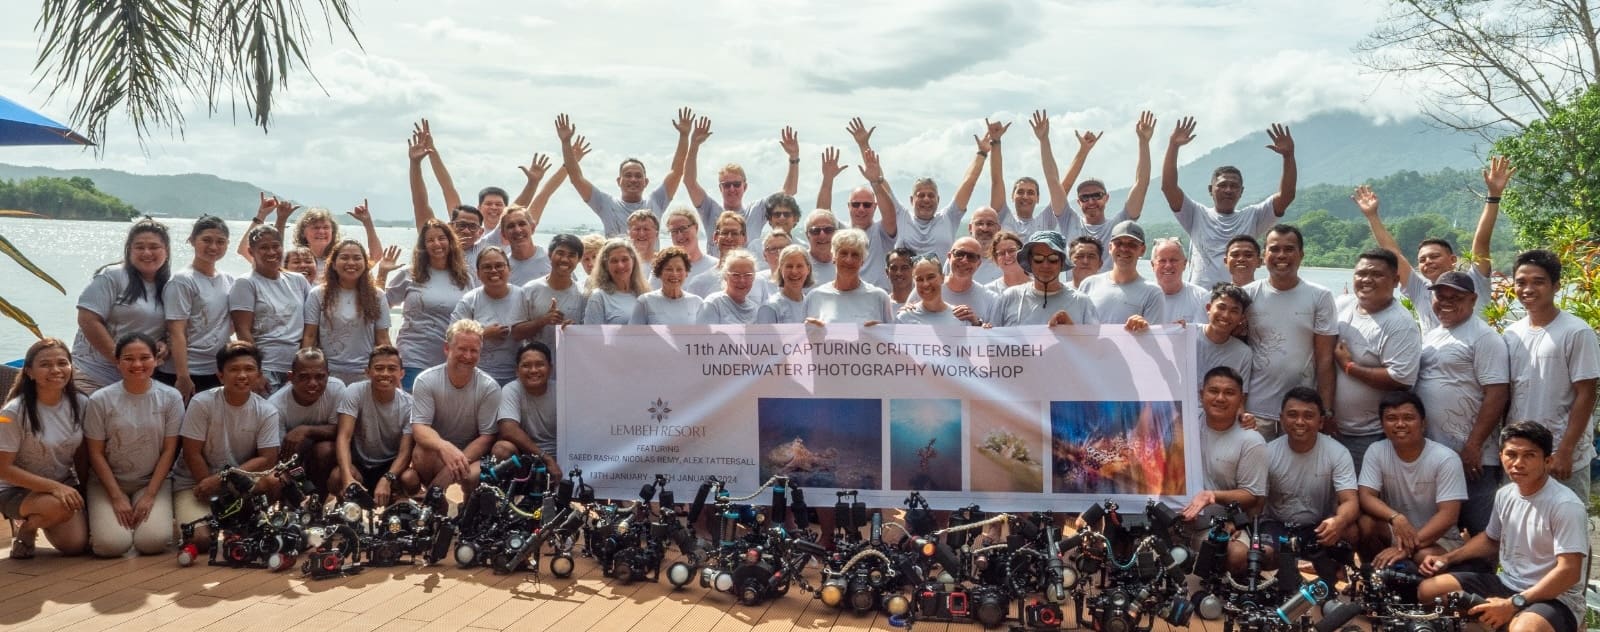
Underwater Photography Workshop 2024 at Lembeh Resort
If you want to take your skills to the next level, why not join us for an underwater photography workshop? Our workshops provide you with an intensive photography experience, guided by professionals. And of course, underwater photography lighting is always a key topic of presentations and discussions!
Our annual Capturing Critters in Lembeh Underwater Photography Workshop is back in January 2025. We are extremely excited to welcome photo pros, Ron Watkins (USA), Paul Duxfield (UK), and Renee Capozzola (USA).
Join us in Indonesia for the 12th annual Capturing Critters in Lembeh Underwater Photography Workshop and experience North Sulawesi’s most iconic dive sites and enjoy some spectacular extras. Check this link for more detailed information: Capturing Critters in Lembeh Underwater Photography Workshop.
Book Your Stay at Lembeh Resort
If you are ready to book your stay with us – or would like more information about Lembeh Resort rates and availability contact us at reservations@LembehResort.com.
Our reservations team looks forward to assisting you!
Further Reading
If you enjoyed reading this article, you may also enjoy some of our other articles about underwater photography and diving in the Lembeh Strait.
What is the Best Focus Mode for Underwater Photography?
Underwater Camera Recommendations For New Underwater Photographers
Diving into the Dark – Night Dives Options in Lembeh


